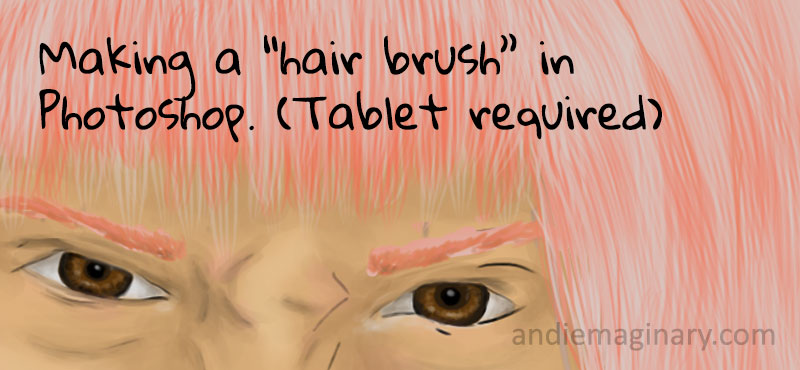
Couple of months ago, I realized that it took me a while to draw hair in my digital paintings. I thought I could create a brush that would help me draw the hair faster. Keep in mind that this brush will help those that are already drawing\painting on Photoshop. This effect is best used a drawing tablet with pen pressure.
Making the Brush
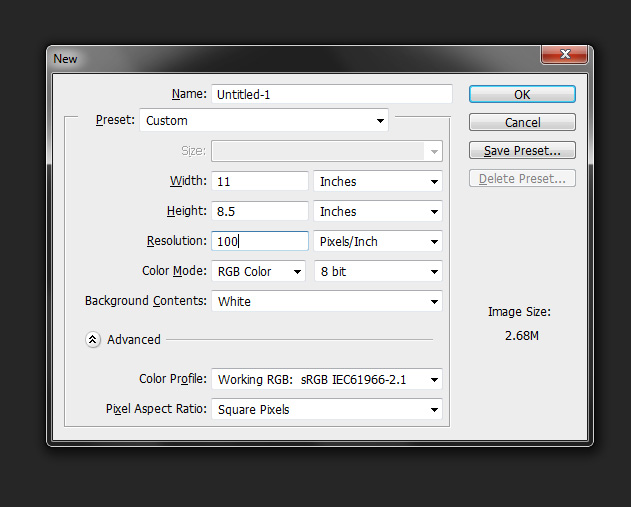
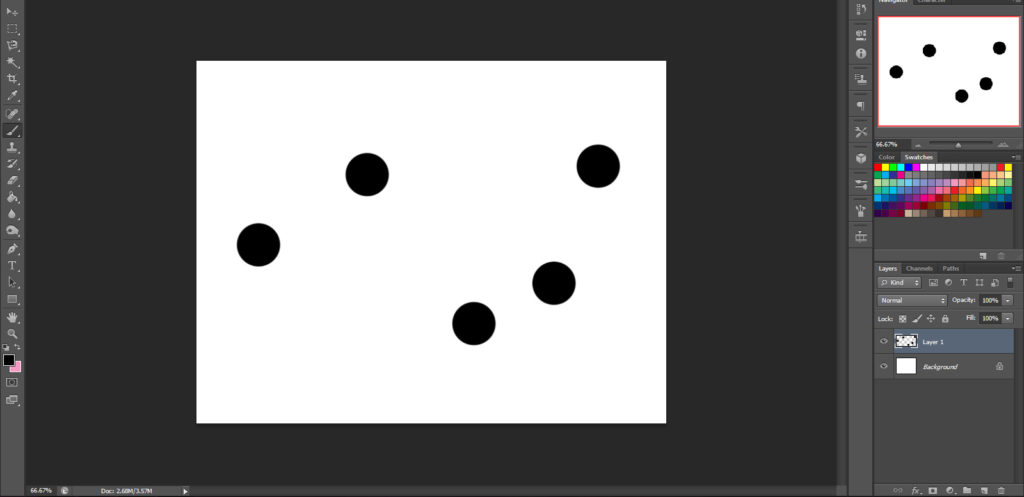
First open Photoshop and create blank file. I like mine landscape so I have room for strands that are going down. If hair was going side ways, vertical would be better.
Next step is to make the would be strands of the brush.
What you need is some circles. For this, I just use the default brush to make solid circles. Use black for the circles and you’ll end up with something like this.
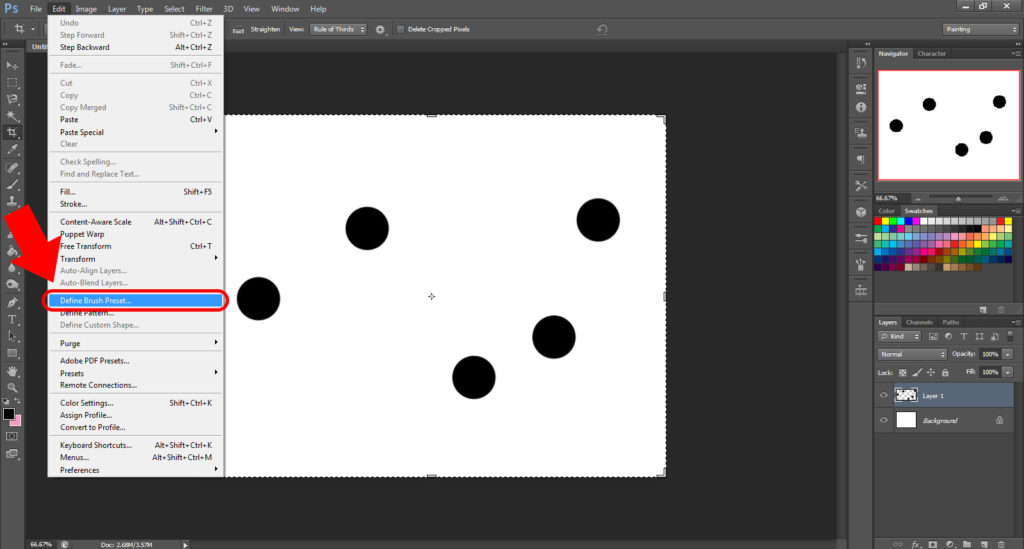
Next is go to Edit > Define Brush Preset…
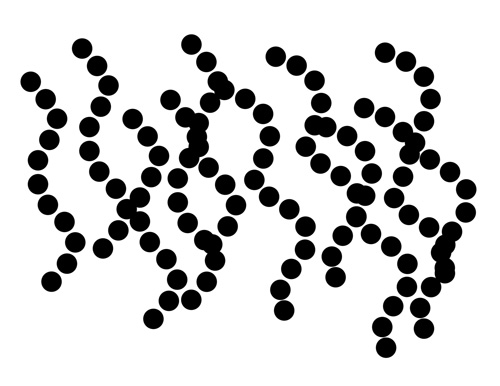
Voila! You now have a new brush!
As it is, it will give you a bunch of dots. This could be useful for other things too but not really for hair at the moment.
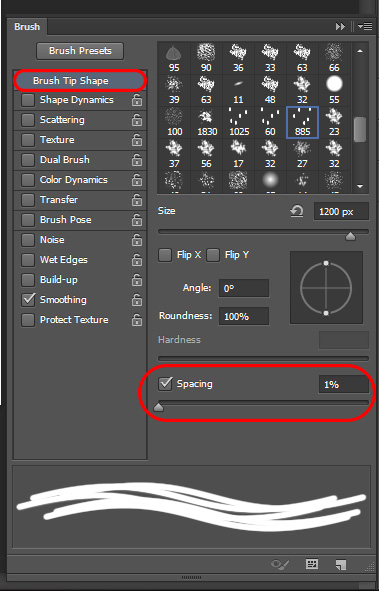
Next part will be the settings.
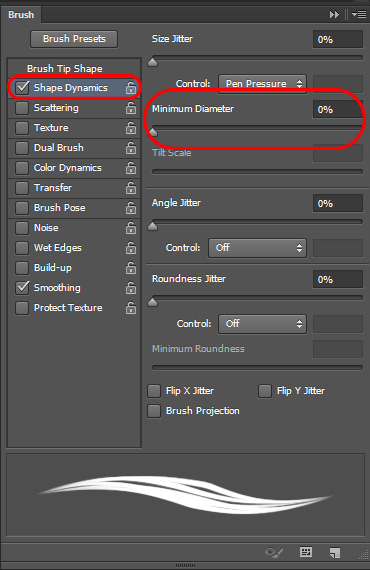
settings
Go to the Brush window and change the setting to turn the dotted lines to straight lines.
Now that these are straight, I want them to have a slight bend on the tips. Turn of Shape Dynamics. Since I have a drawing tablet, I have the control on “Pen Pressure”. I increase the Minimum Diameter.
[Note: I tried to find a way to make this work with a mouse. Sorry but the brush does something completely different when I tried!]
Here is a comparison of the different Minimum Diameter values.
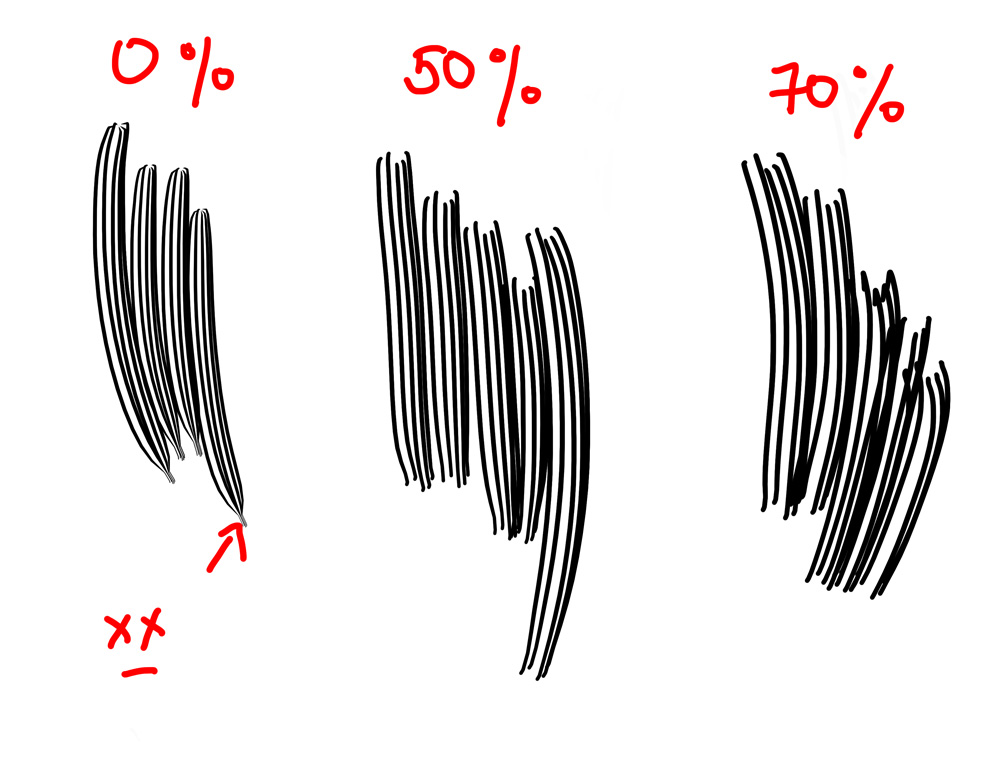
0% makes that small tail on the bottom so I raised the it. 50% seems good. You can adjust this to your liking. Letting go faster with Pen Pressure on helps in getting nice ends.
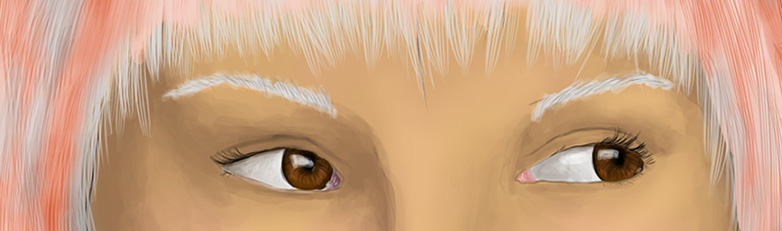
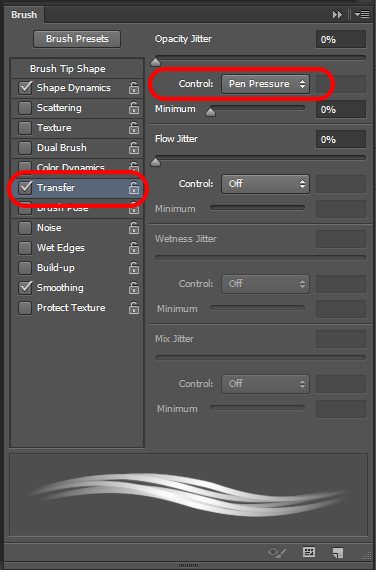
I also use this brush to blend in hair and it put highlights and shadows. It helps to have the Transfer setting turned on. Now this only need to have “Pen Pressure” to work. This creates a fade on the ends.
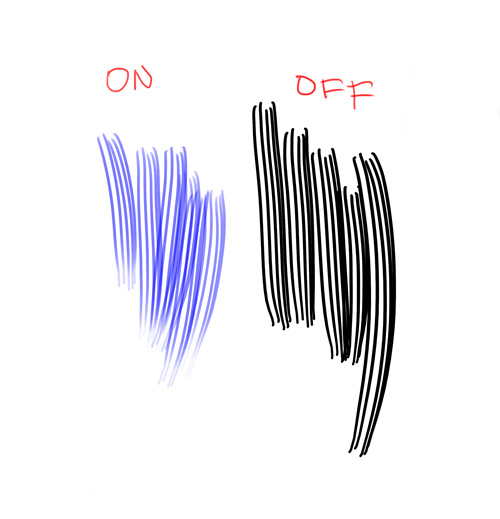
This is how the drawing looks like with transfer and without.
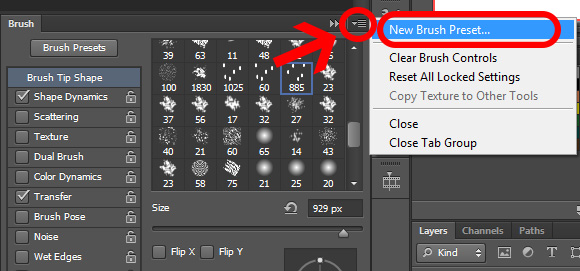
Now all that you have to do is save the settings. At the moment, selecting the brush will revert everything back to normal. When you are in the zone, having to change the settings over and over can be very distracting and annoying.
To save, simply click the upper right of Brush window.
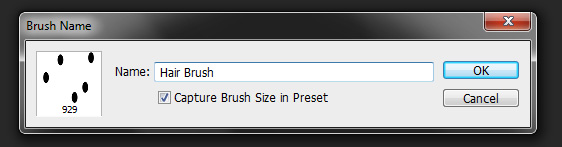
Now all you have to do is name and click the “OK” button.
This will make the new brush in the presets window.
Hope this helps people. Enjoy and make more art!